How to create Event Locations?
Streamline Your Event Space Management with Expert Tips
Efficiency and precision are at the heart of successful event planning. The ability to create and manage event locations is a pivotal aspect of this process, ensuring that you have the right spaces available when you need them. In Alkimii, event locations are your go-to solution for reserving meeting and event spaces within your site. Whether you're arranging a conference, a seminar, or a social gathering, creating locations is a crucial step.
By setting parameters such as capacities, you not only streamline your event space management but also avoid the pitfalls of overbooking.
Where can I add and edit locations?
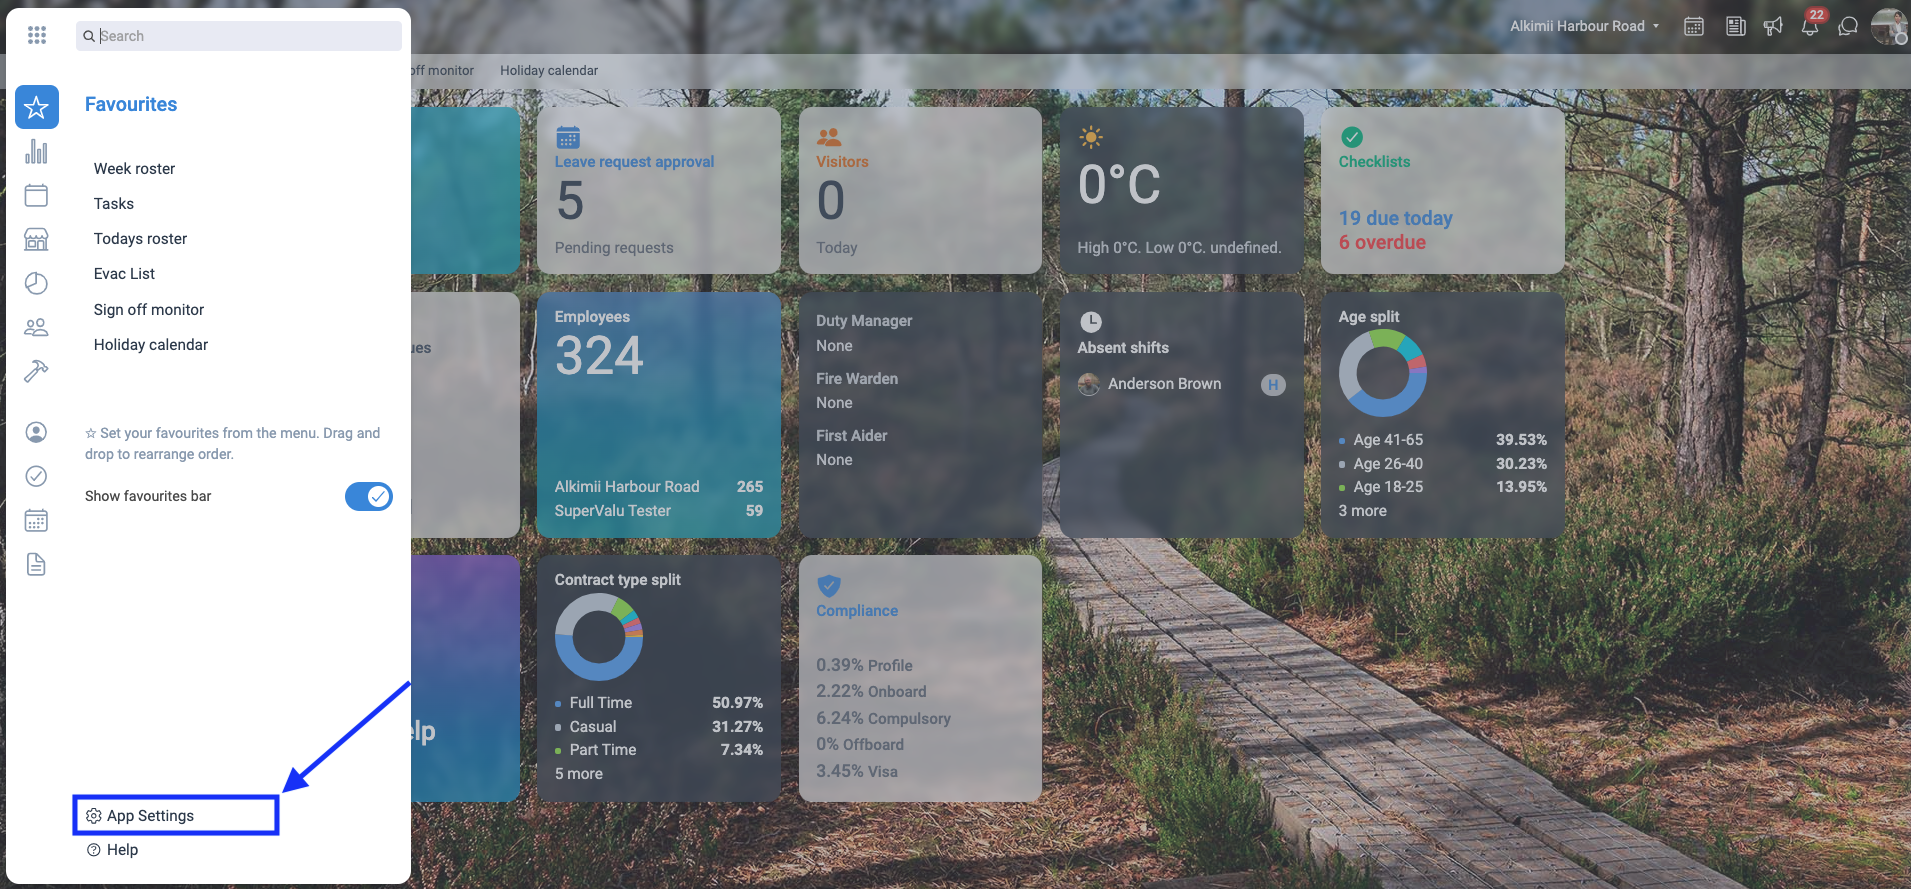
- Using the mega menu, navigate to your "App Settings" at the bottom.

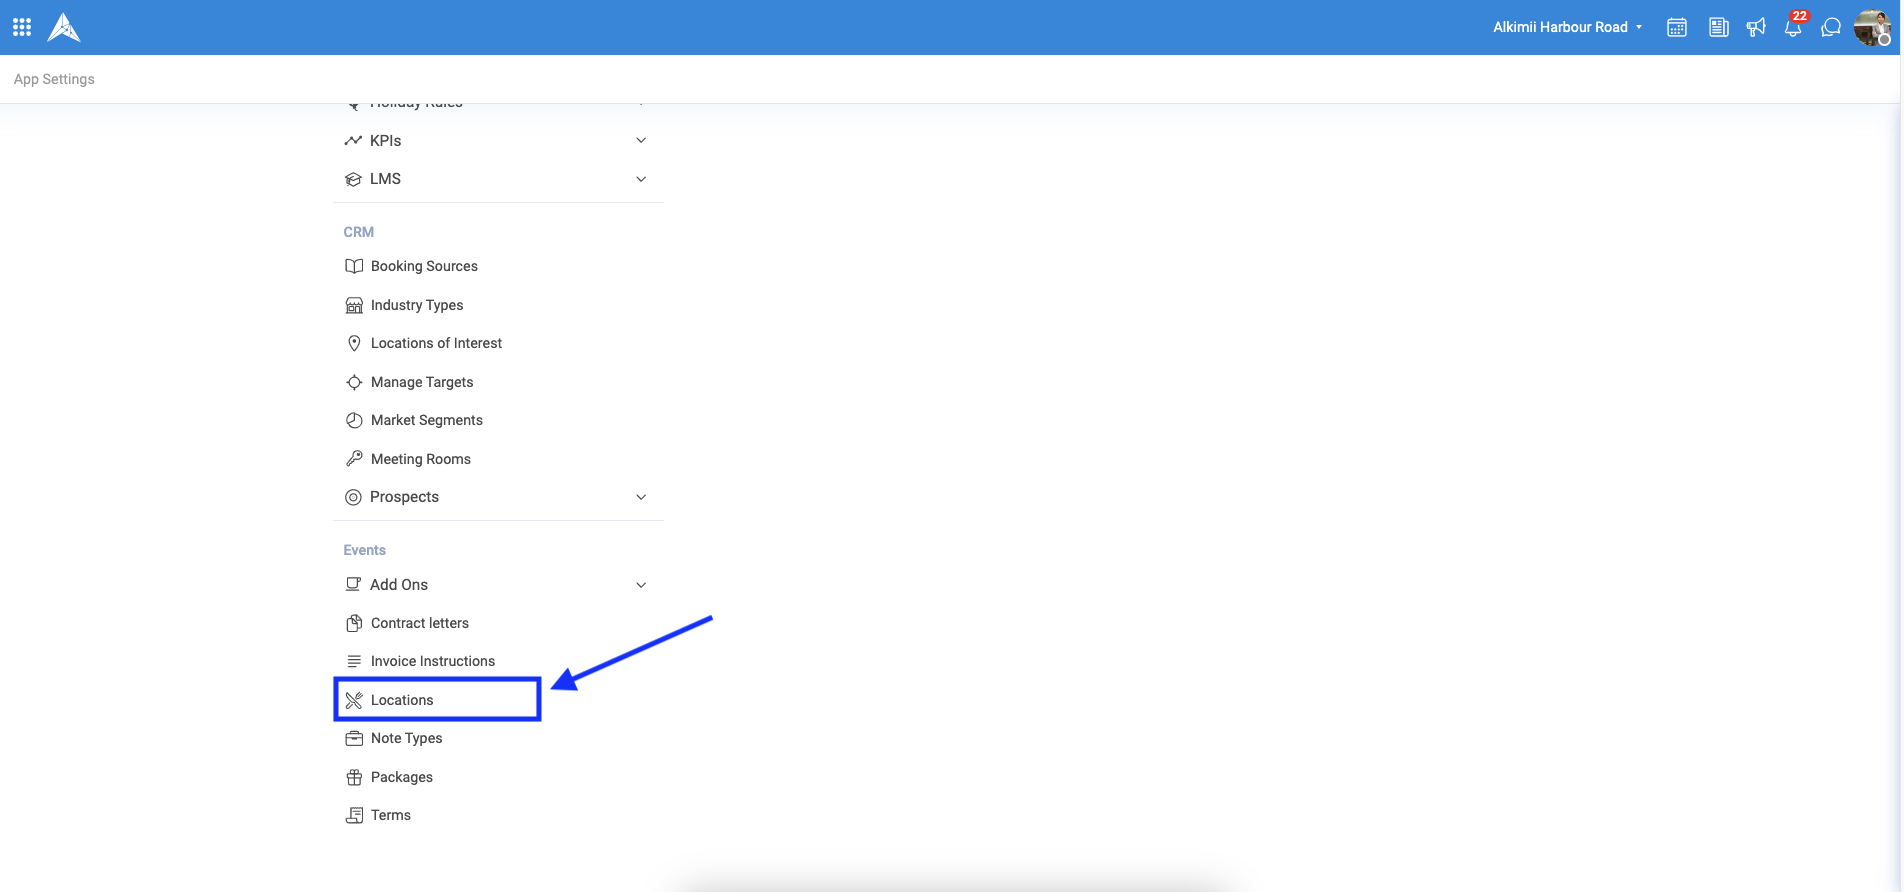
- Scroll down to Events, and click "Locations"

- You can create a New Location through the "+ Add Location"
- To edit an existing location use the pencil icon.

The Capacity for each Location will display on this screen, when creating New Location, it is important to select the MAXIMUM NUMBER of people that can be in that space.
If the number of guests is higher than the maximum capacity of the location you won't be able to save and proceed.
When adding/editing a Location you can select one of the following
- With Multibook
- Without Multibook
Multibook is typically used for Locations that have any bookable space that can have Multiple Bookings. Typically this would be used for Restaurants with multiple functions or Shared Conference spaces.
With Multibook
- Name your Location
- Set the Capacity to the MAXIMUM number that can occupy the location.
- Set the order of Location. This order will display on the Availability Calendar.
- Tick Multibook.
- Tick whether the location should show on the calendar.
- Save

Without Multibook
- Name your Location
- Set the Capacity to the MAXIMUM number that can occupy the location.
- Set the order of Location. This order will display on the Availability Calendar.
- Untick Multibook.
- Tick whether the location should show on the calendar.
- Save

ORDER: This order will display on the Availability Calendar. You can order the locations, (e.g 1,2,3,4...) so that they appear as below:

Show on calendar
- When you select 'Show on Calendar", these locations will always display on your calendar.
- If you don't want these locations to display on your Events Calendar/ Availability Calendar, you will need to untick this box.
Locations will always default to "Show on Calendar". However, some locations such as Bedrooms should not be visible on the Events/ Availability calendar so you would need to untick "Show on Calendar" so it is not be visible on these calendars.
Global Rooms and Sub Rooms
To create a Global room:
- Click add location as normal setting the Location title to your Global Rooms Name.
-
- Add the total capacity of all rooms combined.
- Select the order you would like this room to appear in the locations list on your availability calendar.
- Next, you will need to add your sub rooms.
-
- Click into the location name or the pencil.
- If any sub room is booked out, the global room will also display as booked in the availability calendar.

You can only add Room Allocations to locations which are marked “show on calendar”
- Your existing meeting rooms will be available in a drop-down list.

- Once the location has been selected you can add your capacity for the room.
-
- If the room should be available for multibook you can tick the box.
- If you wish to remove or delete a room, you can use the red icons to the right of the multibook.
- You can add multiple Sub rooms to any Global Room
The new Global Room and Sub Room locations will show on your availability calendar in the order preference selected.
- They will appear in a collapsible tab dropdown in your availability calendar.

