- Navigate to the App Settings using the menu search bar.
|
 |
- Select "Add Add On" and begin by adding the title for the add-on.
- Select the type, these are pre-set. This will determine the tax rate which will auto-populate once the category has been selected.
Add on Types at set as default, if you wish to add any additional types please contact hello@alkimii.com
- Select the category from the dropdown list. These options are set as standard.
- Add the price, this can be updated at any point
If you update the price of add on, this will not update on existing items, only for future pricing.
|
 |
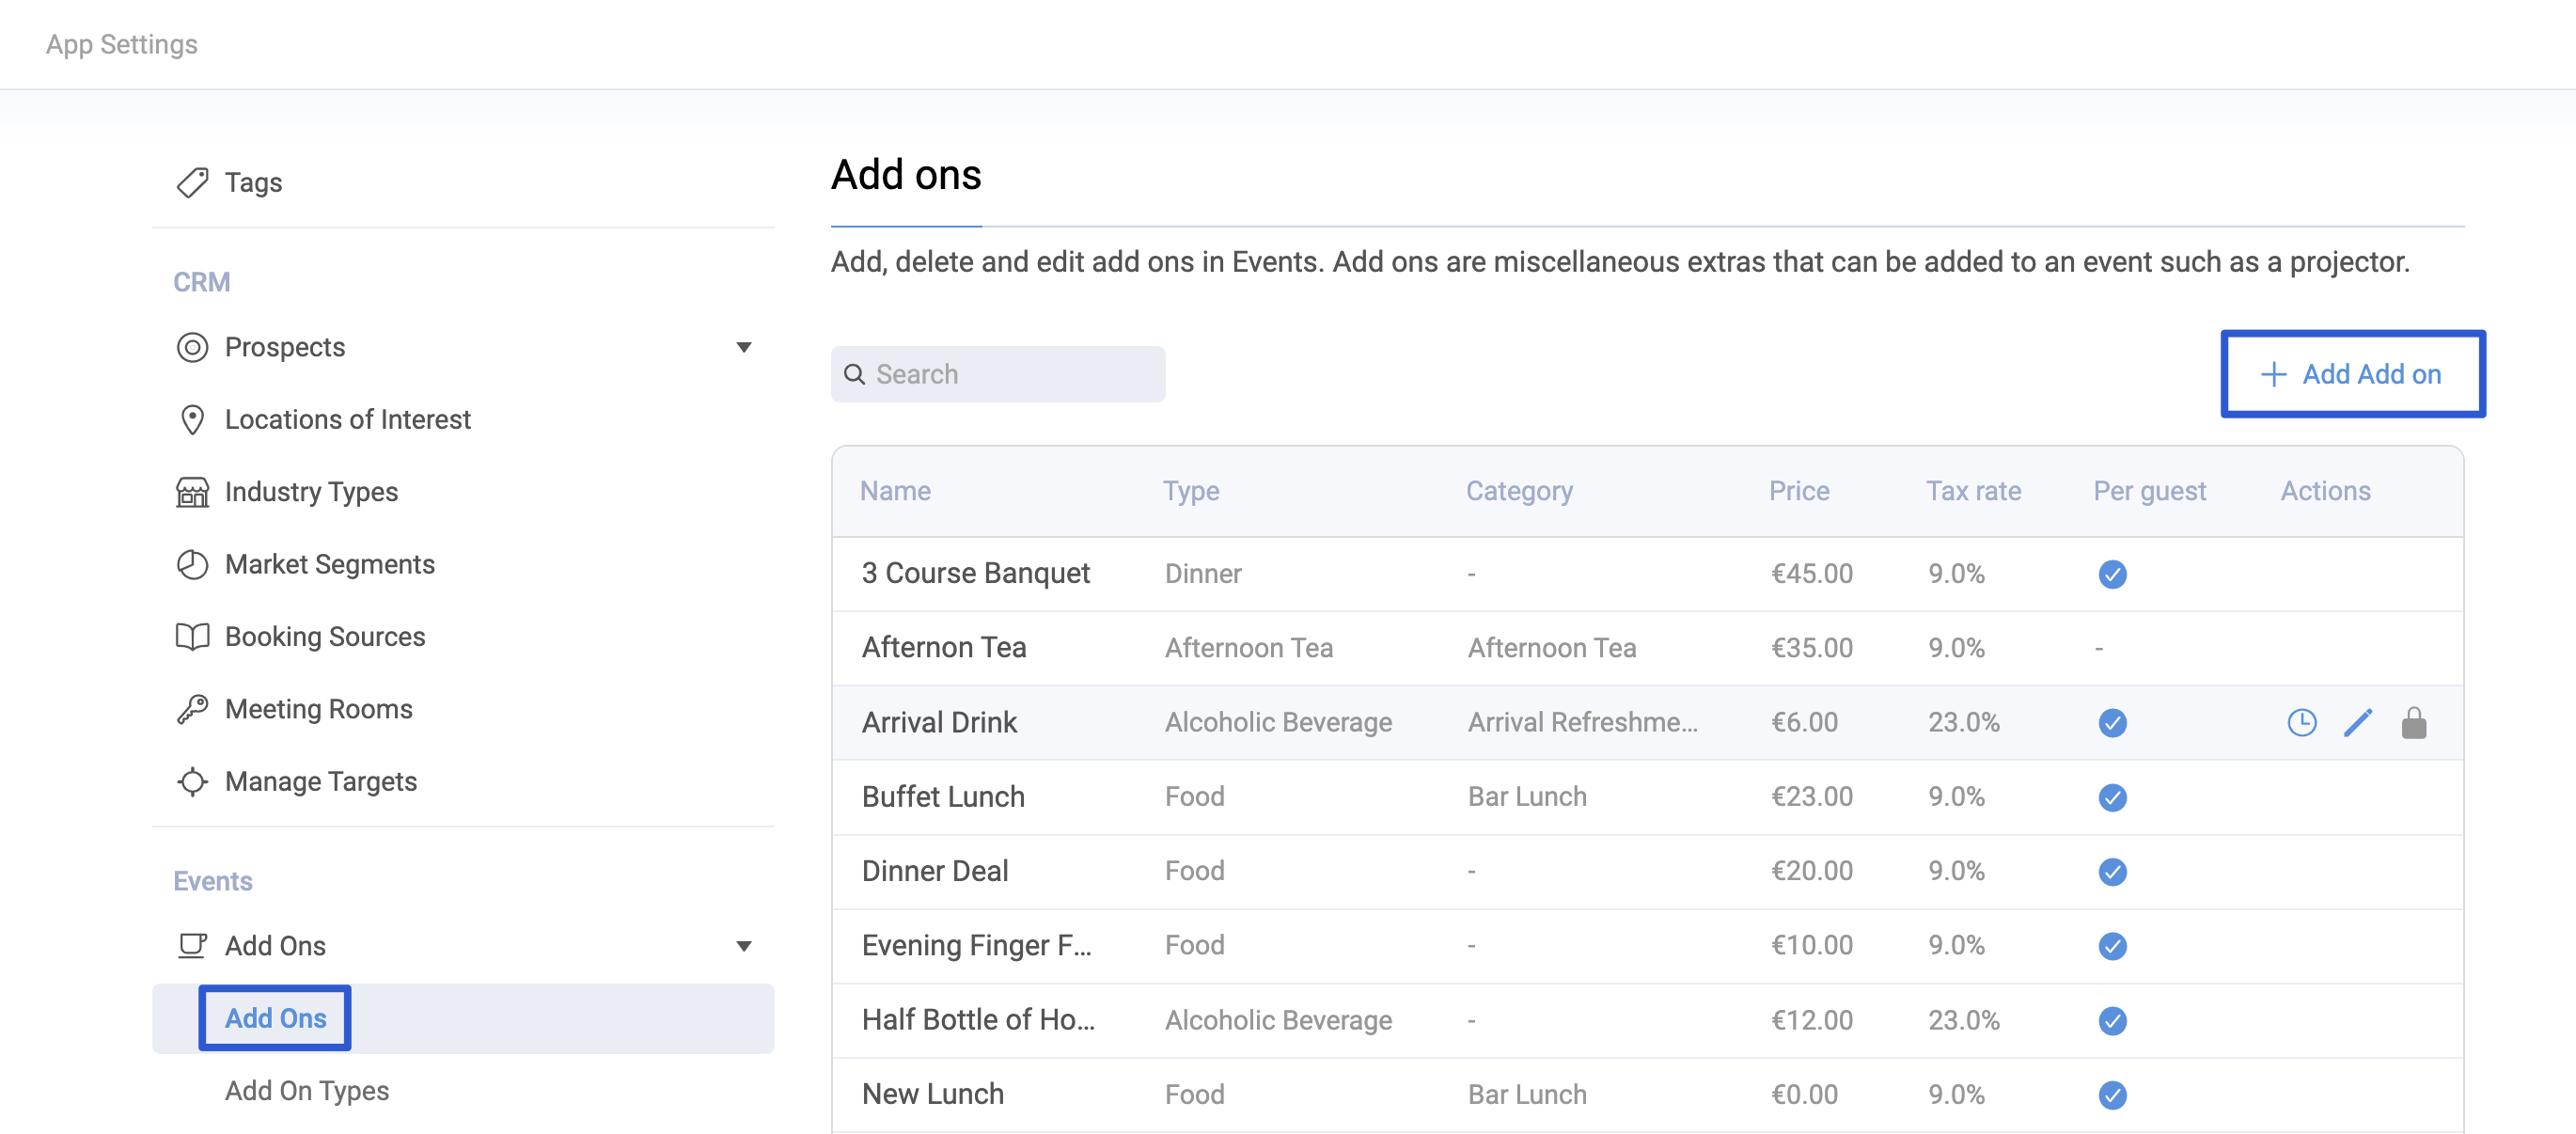
On the list of Add On you will have the ability to view the version history, edit the Add On or delete the Add On.
- To view the history, click on the clock icon under the actions column. A pop-up will appear with the version history.
- To edit the Add On, click on the pencil icon.
- To delete the add-on, you must first ensure this item is not in use. Click on the Bin icon to soft delete the add-on. If you need to recover the deleted add-on at any time, select "Show Deleted" at the top of the page.
For more information on Events, click HERE.