Efficient task management is the foundation of success in property management. In Alkimii Property, you have a powerful suite of tools at your disposal, allowing you to master your checklists with ease. Whether you need to edit, delete, create new checklists from scratch, or utilize our time-saving checklist templates, we've got you covered. This article is your comprehensive guide to managing your checklists in Alkimii Property, enabling you to streamline your task management and customize it to meet your unique needs.

- Using the menu, navigate to checklists
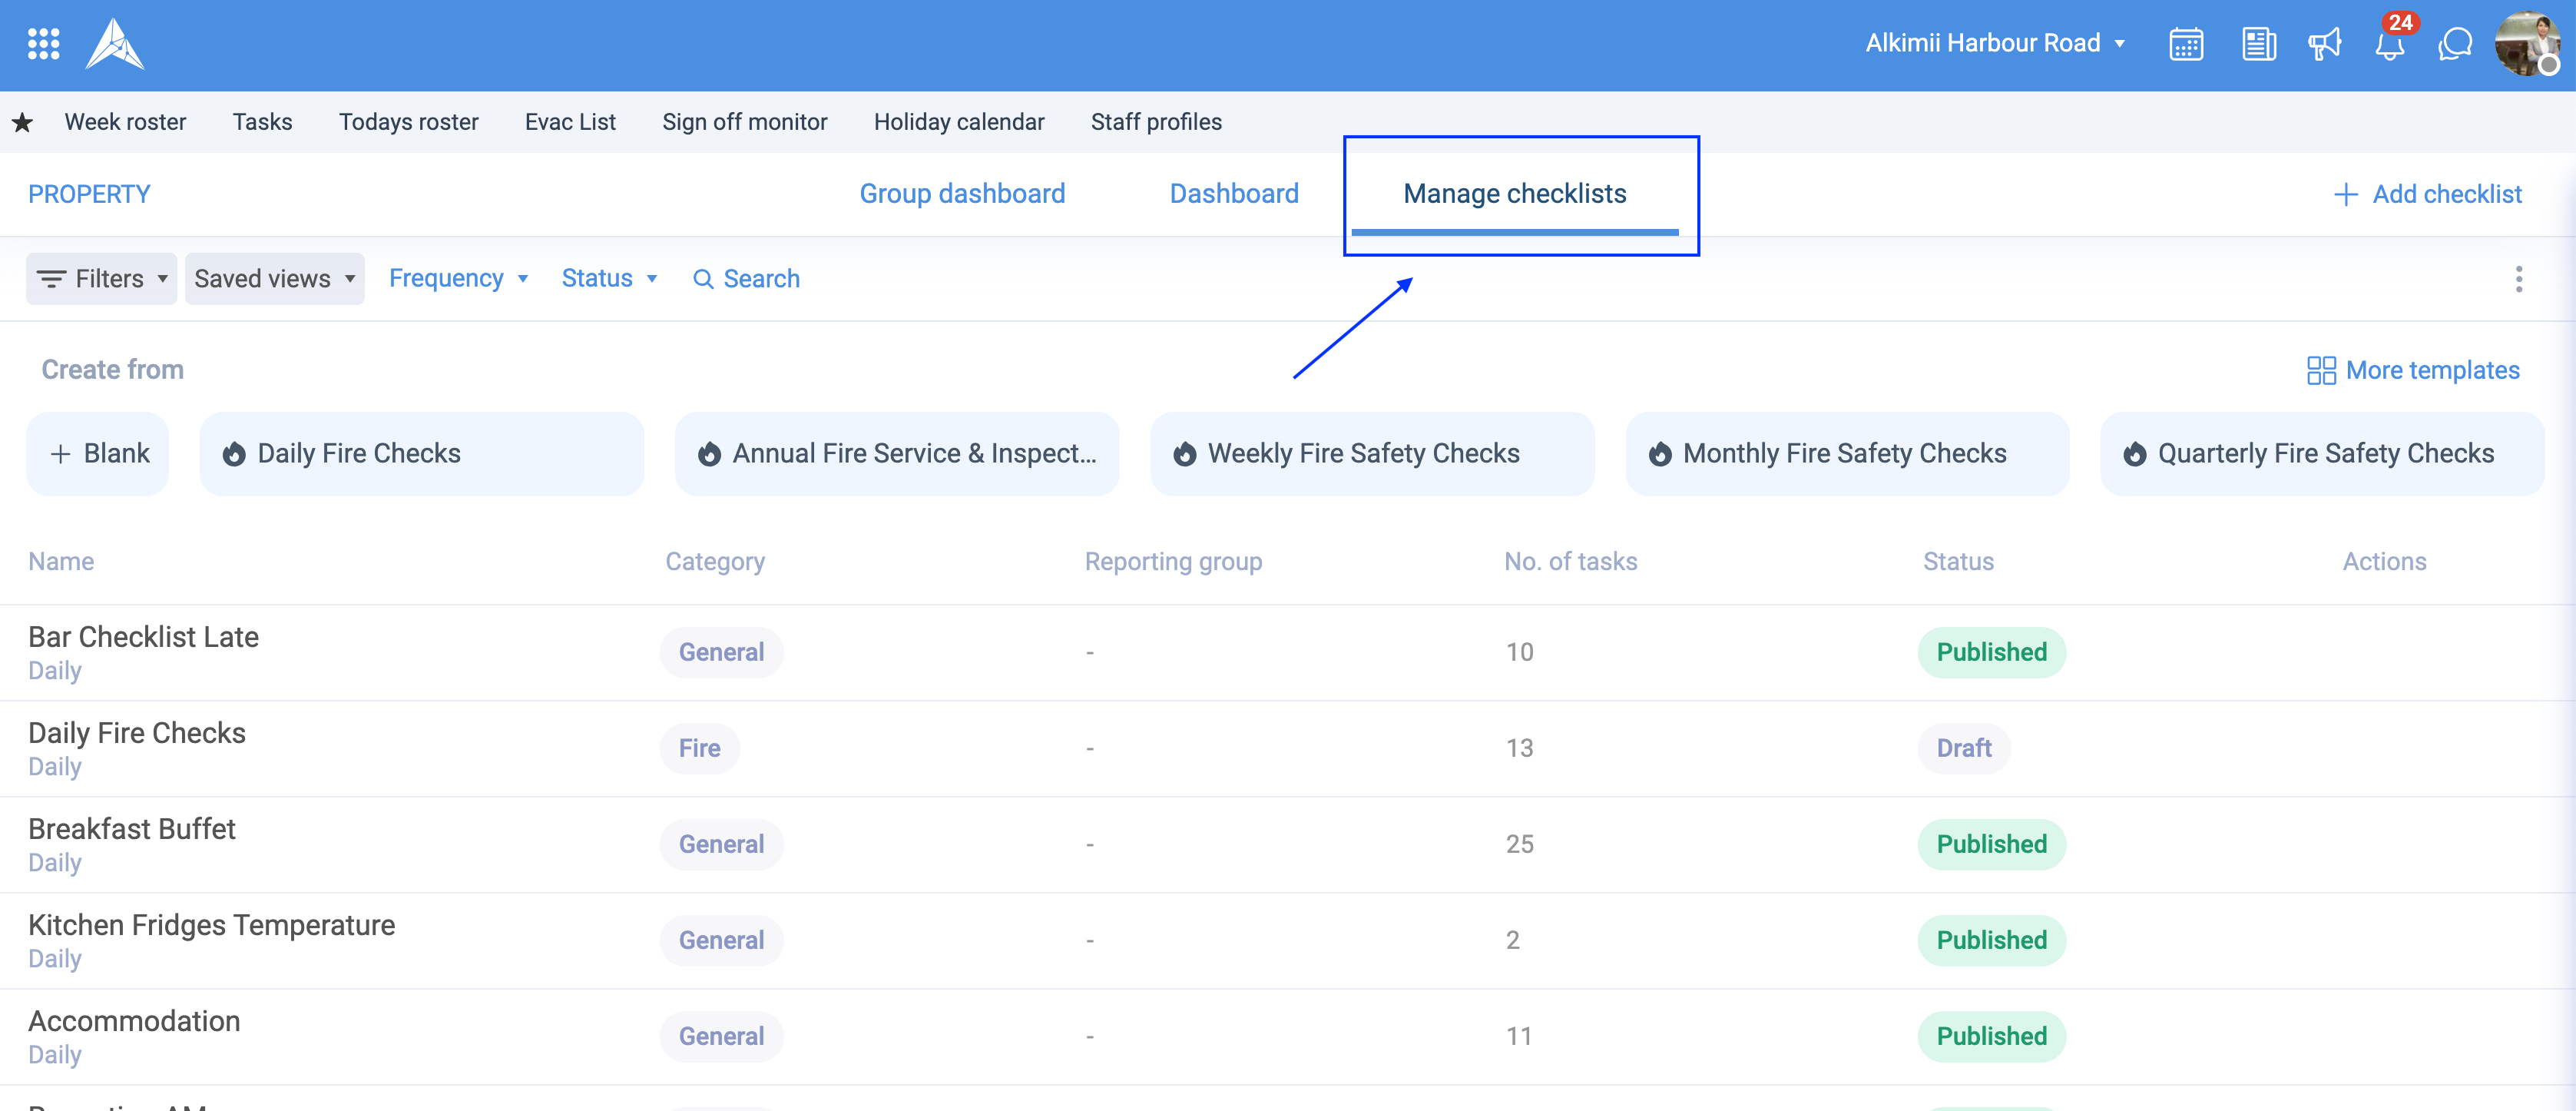
- Within the checklist view, select "Manage Checklists" along the top
- You will see the list of all pre-existing checklists for your site
Use these quick links to see how checklists can be created
Creating a Checklist Using Templates
If you wish to create a new checklist, we offer a range of fully editable templates which can be customised to meet your site's needs.
- To see the full range of templates, click "More Templates" in the top right corner of the view.
- Select the most suitable template from the list

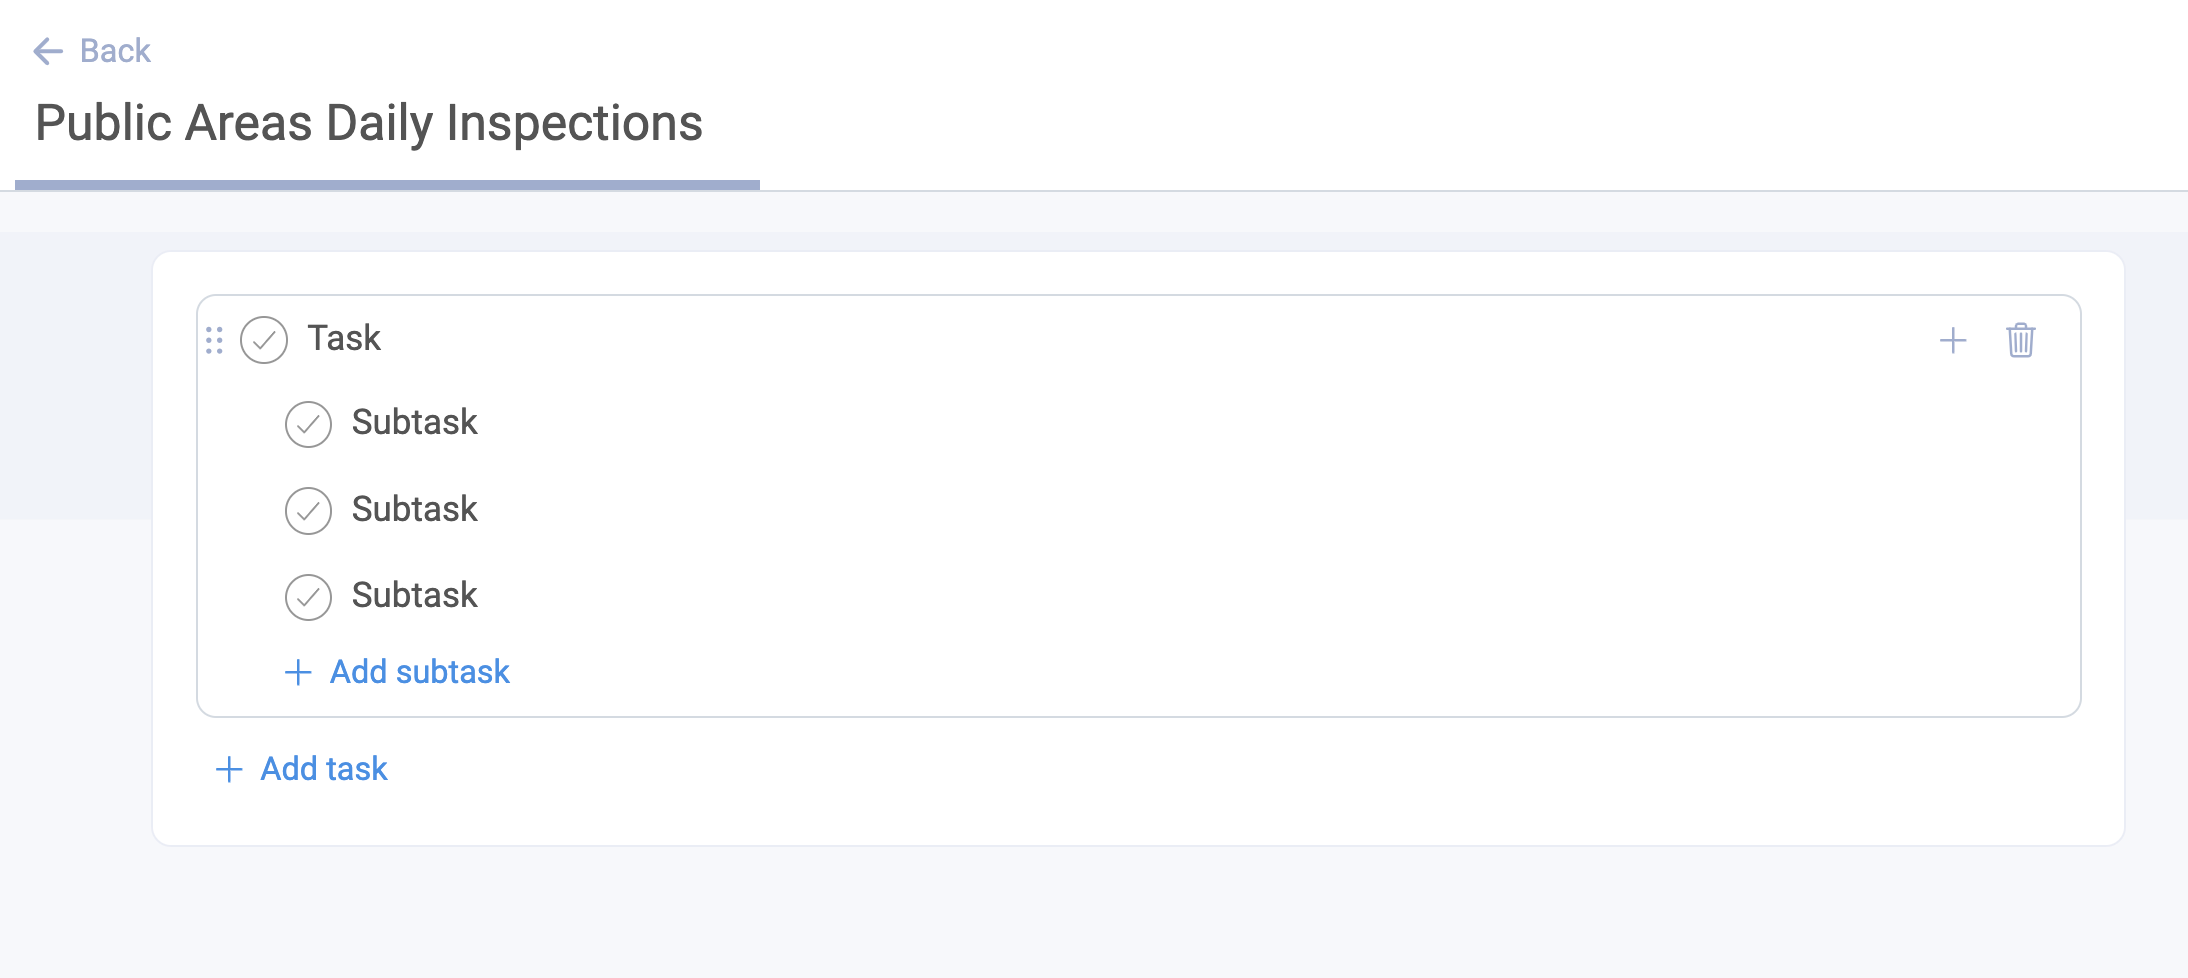
- You will be redirected to the checklist-building page, where you can add, edit or delete any tasks or subtasks as you see fit.
- To add a new parent task, scroll to the bottom of the checklist and select "Add Task"

- To add a new subtask, click the "Add subtask" at the bottom corner of the parent task

- To amend the task or subtask titles, simply click on the text and edit it.
|
 |
|
 |
These categories are set up as a default within Alkimii. You will be able to select the relevant category from the dropdown menu.
- Depending on the template selected, the frequency will be autopopulated. If you need to amend this, select the most suitable option from the "Frequency" dropdown.
- If your organisation has multiple sites (hotels), you can choose which sites you would like this checklist to be available in.
- To save any changes to this checklist, ensure that you click the "Save" button in the top right.
All checklists will remain as drafts until you enable the "Published" toggle on the right of your screen.

- There is an option to lock the checklists, meaning no one else can amend this checklist. We would not recommend locking a checklist unless completely necessary as you will be the only individual with editing rights. To lock a checklist, enable the "Locked" toggle.
Creating a Checklist from Scratch
- To create a checklist from scratch, click "Add Checklist" in the top corner
- A pop-up will prompt you to give your checklist a title
- If this should be available to the multiple sites in your organisation, you can select these from the dropdown menu. Otherwise, it will default to the site you are in.
|
 |
- Choose a checklist category, if applicable.
- Set the frequency of the checklist using the dropdown menu
- There is an option to lock the checklists, meaning no one else can amend this checklist. We would not recommend locking a checklist unless completely necessary, as you will be the only individual with editing rights. To lock a checklist, tick the checkbox.
- Click the "Save" button once you are satisfied with the entry.
- Now you can start building out your checklist tasks and subtasks, as you wish.
- To add a task, click the "Add" button in the middle of the box. Enter your item into the free text field.
- You can add subtasks or delete the task using the actions to the right of the text

- There is no limit to the number of subtasks you can add to your parent task
- To save any changes to the checklist, ensure that you click the Save button in the top right.
- Again, your checklists will remain as drafts until you enable the Published toggle on the right of your screen.

Other Related Articles
How to create a reporting group for Alkimii checklists?
How to navigate the checklists group dashboard?
How to change the category currently associated with your checklist?