Alkimii introduces a powerful feature that takes checklist analytics to the next level – Reporting Groups. These groups are designed to sort checklists with the same frequency and category, enabling you to gather meaningful insights through your dashboard analytics. This article is your comprehensive guide to organising your checklists and unlocking in-depth analytics.
The group dashboards are set up at an organisational level and will only be available for those with the correct access level.
- Navigate to App Settings, within the menu using the search bar.
- Scroll to the Property heading, click on the Checklists dropdown menu and select Reporting Groups.
- Here you will see a full list of the pre-existing groups which would have been configured during your initial installation.
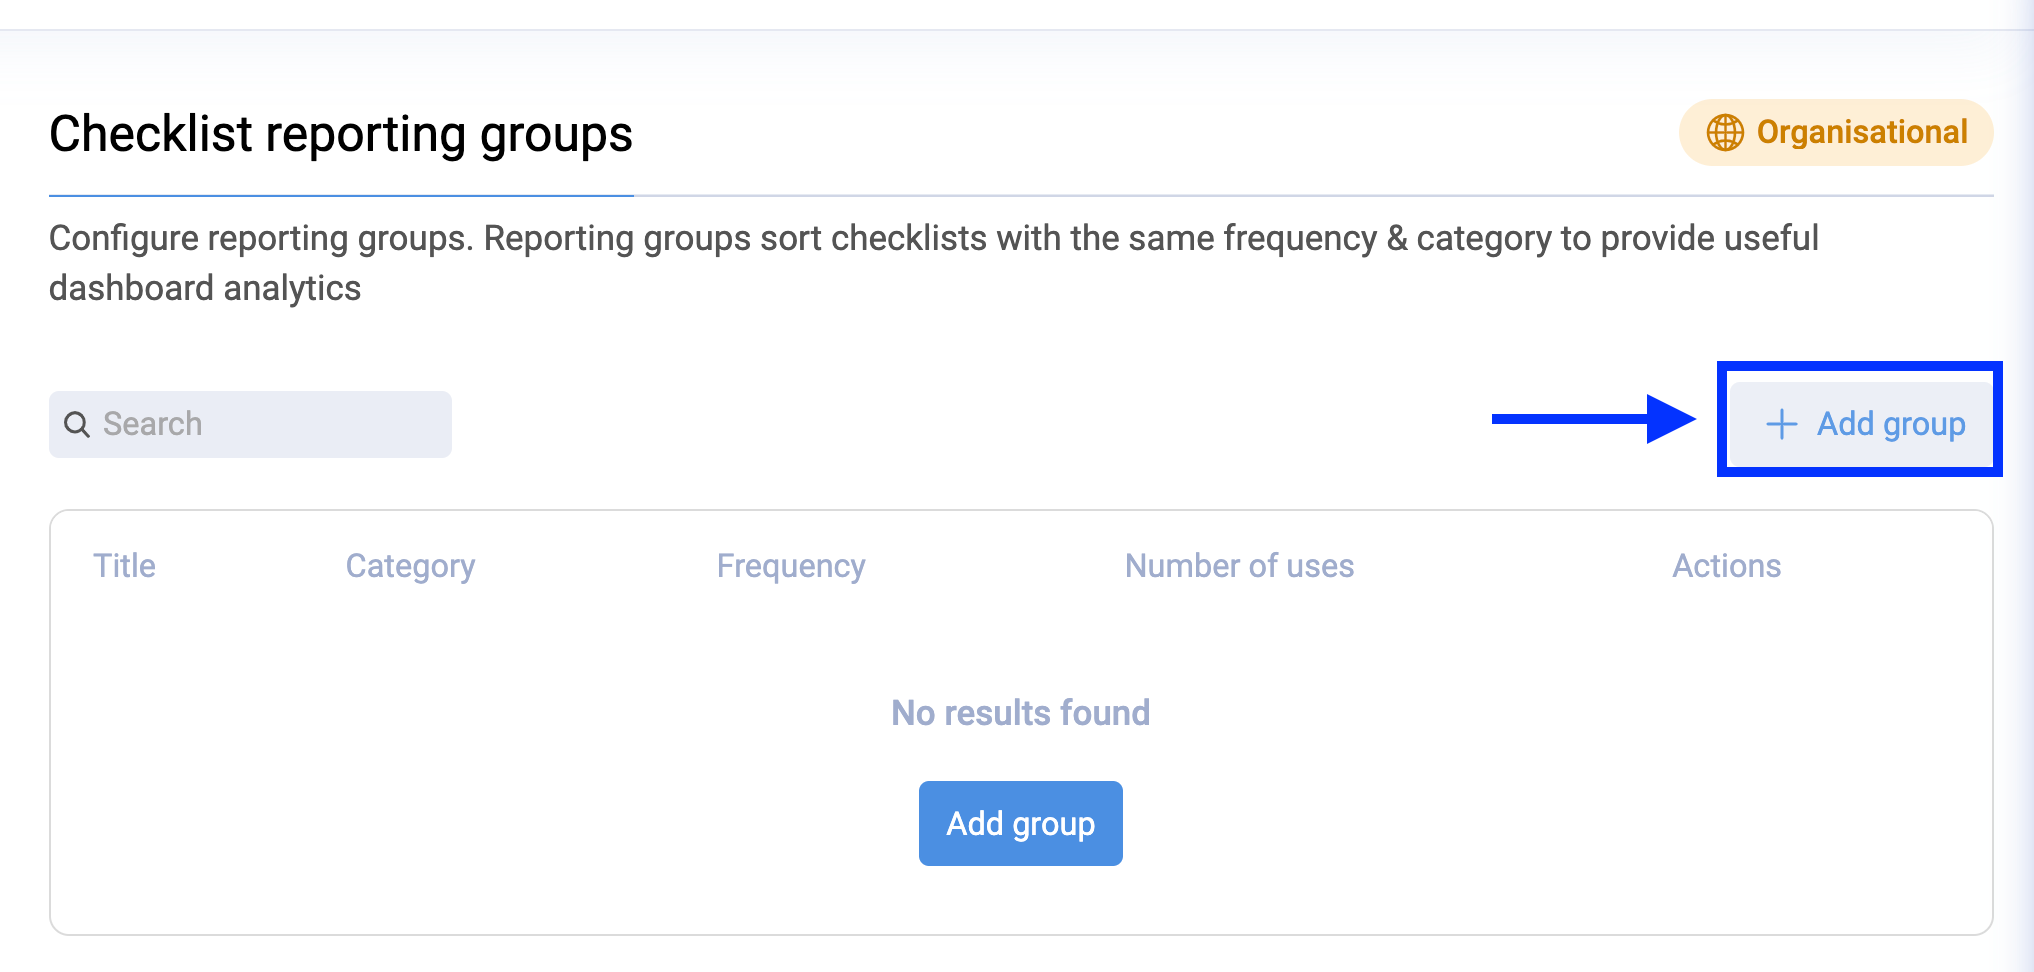
- To add a new reporting group, click "Add Group" in the top right corner
|
 |
- You will now see the category appear in the list view
- To edit or delete this category, click the pencil or bin icon on the right of the group name under the actions header.

Other Related Articles
How to navigate the checklists group dashboard?
How to create a checklist in Alkimii Property?
How to create a category for checklists?
How to navigate the checklist dashboard?
How to apply a category to your new checklist?
How to change the category currently associated with your checklist?