Checklist organisation is the key to efficiency and productivity. Alkimii empowers you to maintain a well-structured workflow by allowing you to assign categories to your checklists. But what if you need to make changes? This article is your guide to optimsing your checklist organisation in Alkimii by demonstrating how to change the category assigned to a checklist.
- Using the menu search bar, navigate to Checklists
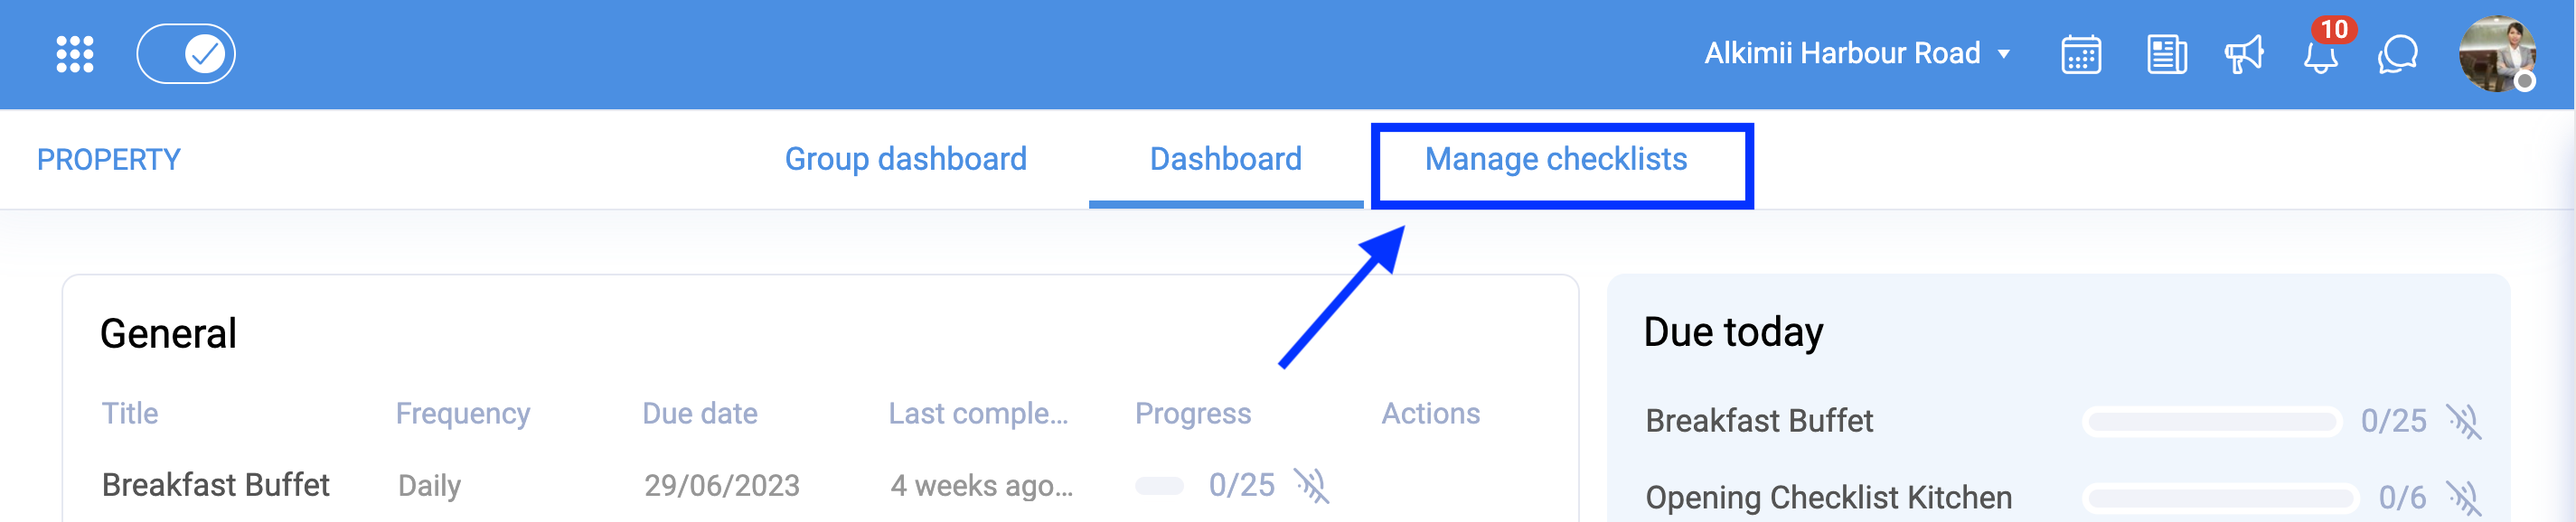
- Along the top, select "Manage Checklists"
- You will need to find the checklist you wish to update by searching via the filter options and using the search bar
- Under the "actions" column to the right of your checklist, you will see an eye, pencil and a bin icon
- Select the pencil icon to edit the checklist
- To view the checklist, select the eye icon

- In the checklist-building page, you can edit any of the existing information including the category
- Click on the category and choose the most relevant option from the dropdown list
- Save
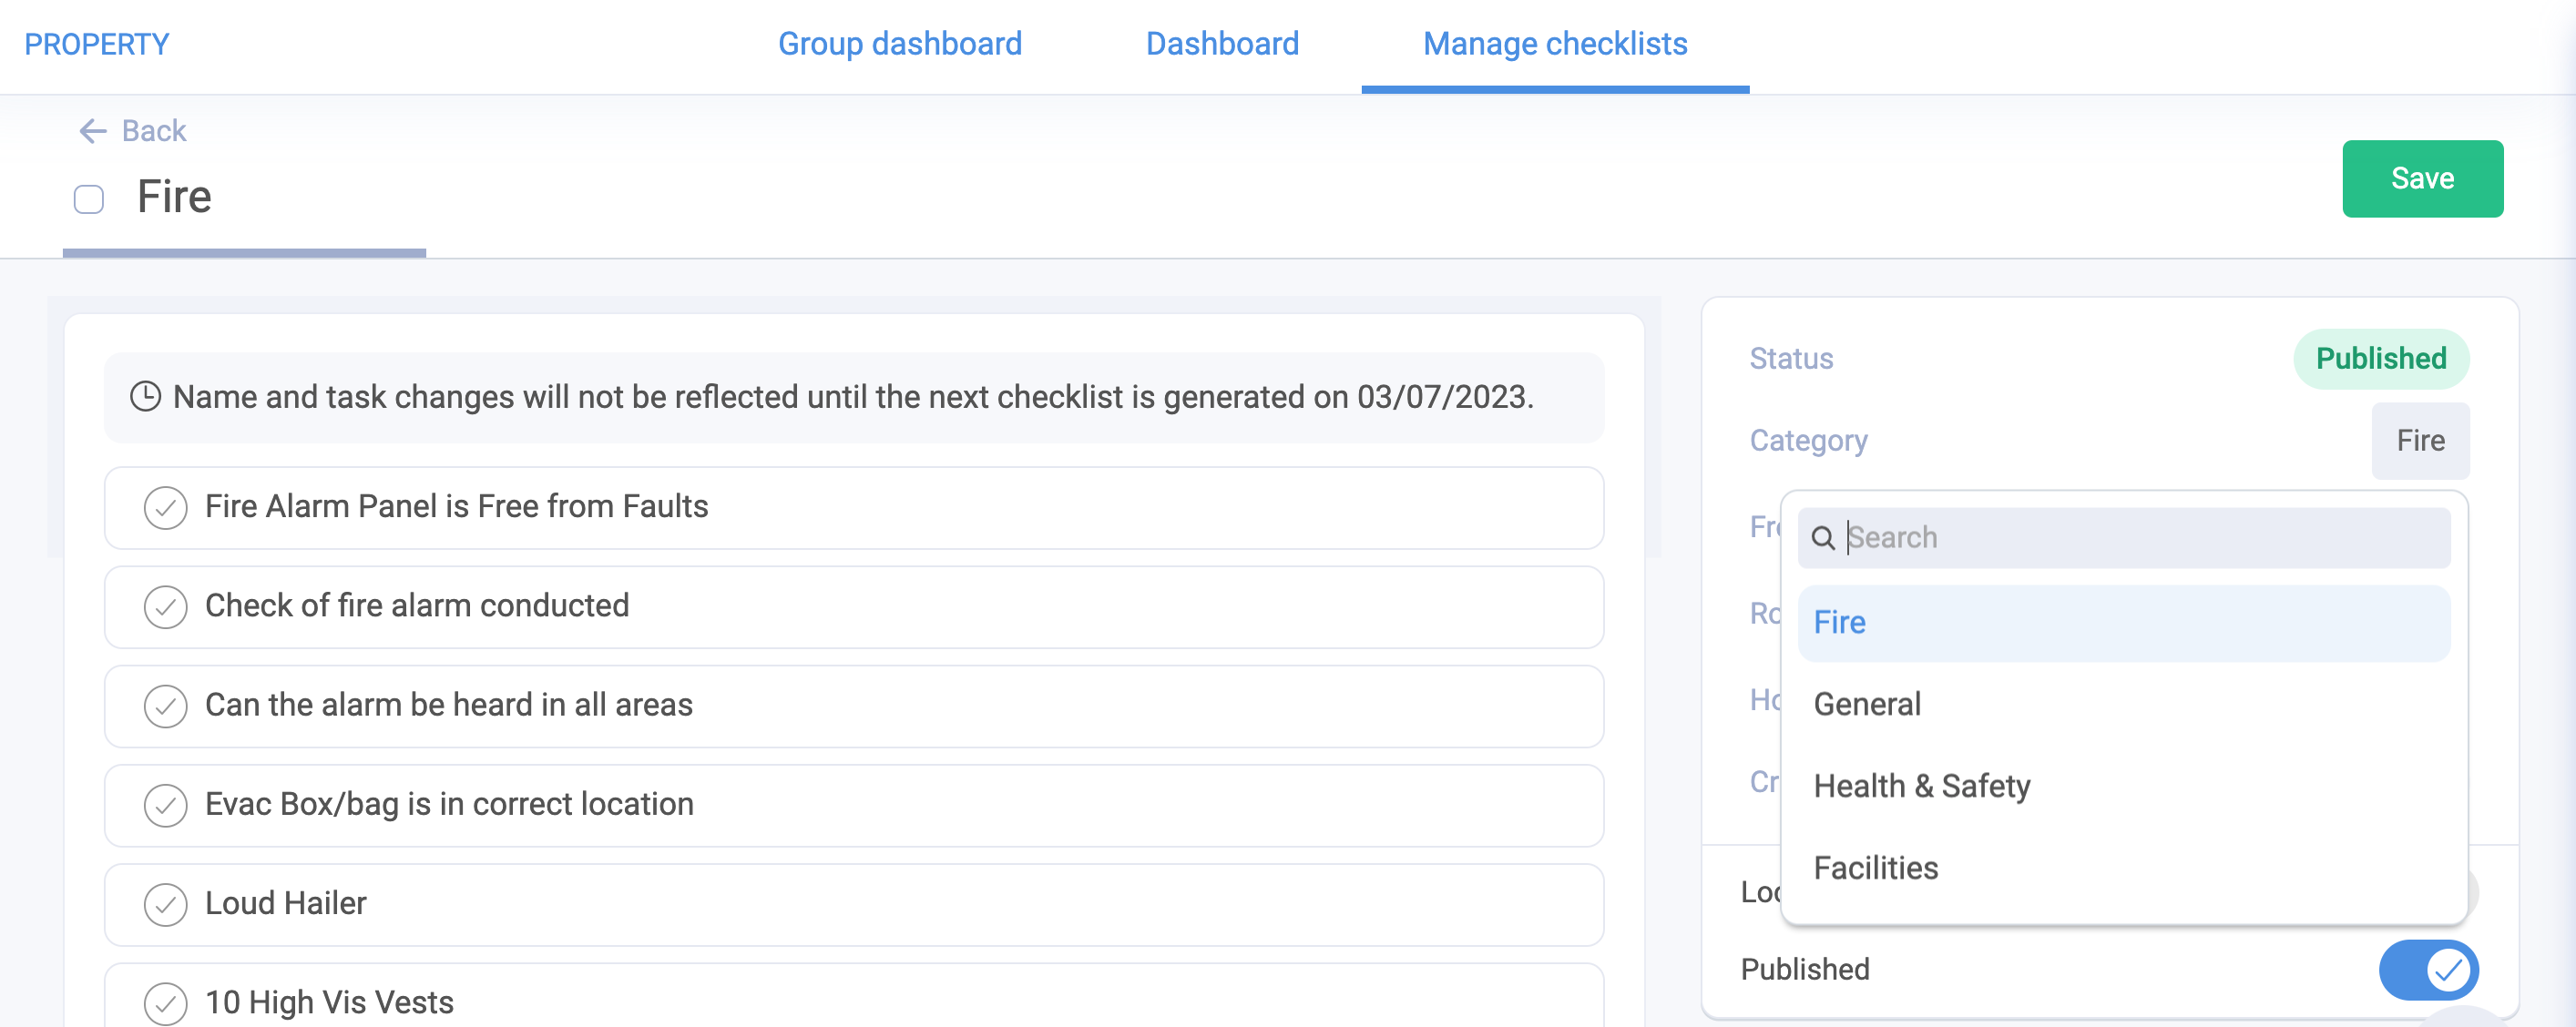
Please be advised that any name and tasks changes will not be reflected until the next checklist is generated. Above the task list you will see the date for when the checklist will generate and reflect your changes.
- When you go back to the checklist config page, you will now see your checklist appear under the newly selected category
Other Related Articles
How to create a reporting group for Alkimii checklists?
How to navigate the checklists group dashboard?
How to create a checklist in Alkimii Property?