How to create an Appointment via Appointments in Alkimii?
CRM appointments help you allocate your work time to different clients and prospects. Appointments can sync to Outlook for seamless integration.
Please be advised that appointments can be created for both internal and external individuals.
To create an appointment for internal employees, use the attendees dropdown.
To create an appointment for external employees, use the contacts dropdown.
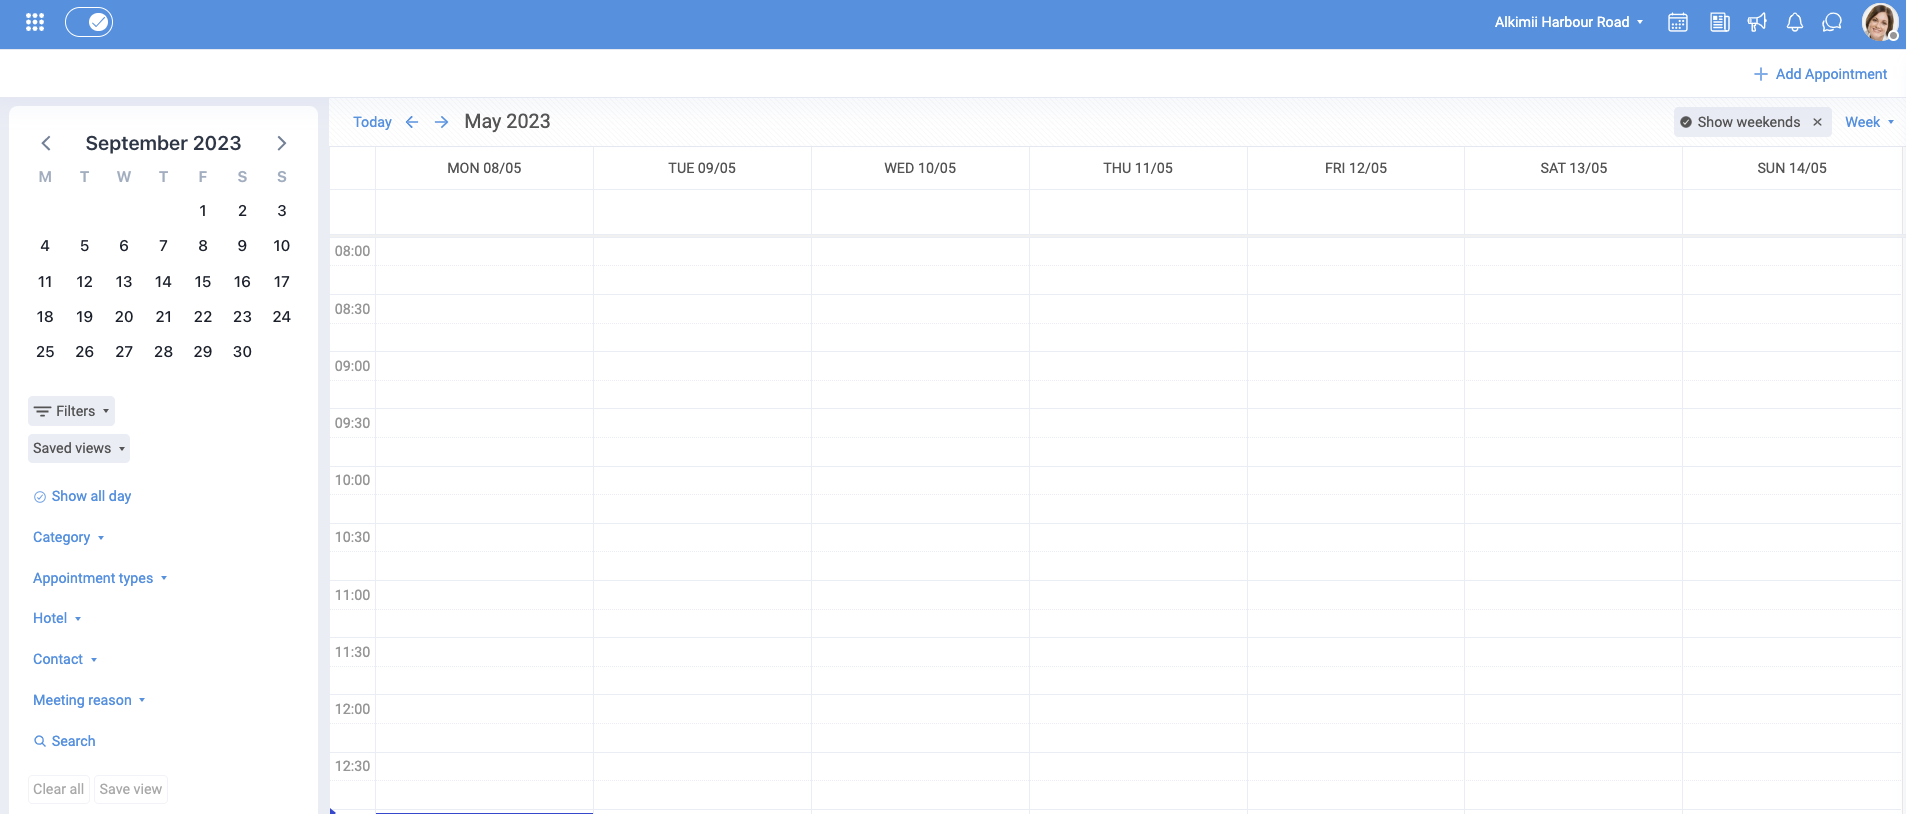
- Using the mega menu, navigate to Appointments along the left-hand side

- Your default view is this month on the calendar
-
- The display can be set to show a list, month, week, or day view
- Additional filters can be set on appointments
- You will have the ability to search by category, appointment type, hotel, contact or meeting reason as well as your saved views.

- To add an appointment, click the + Add Appointment in the top right-hand corner.

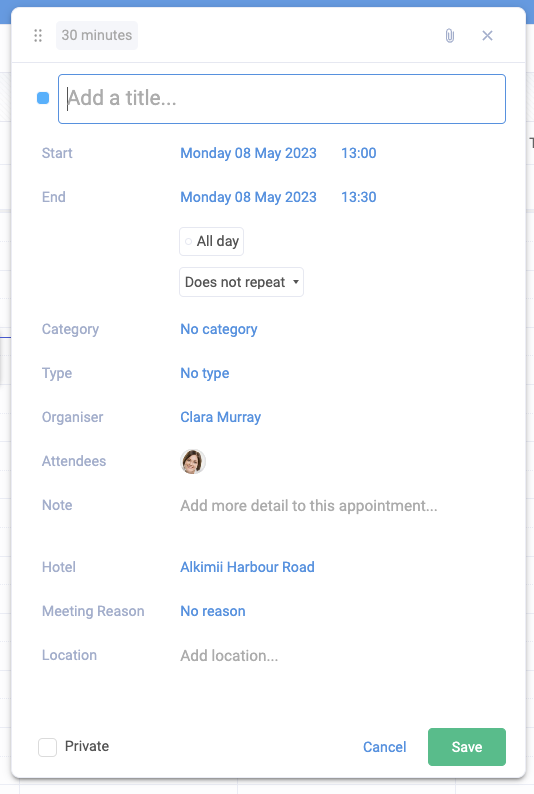
- You will be directed to the following pop-up where you can fill in the appointment detail.

-
- You can attach files using the file clip icon in the right-hand corner.
- If you wish to colour-code your appointment, you can select the colour tile to the left of the Title.
- You can change organiser
- You can add attendees from the search list
- If this is a private appointment you can mark this as "Private" in the bottom left corner.
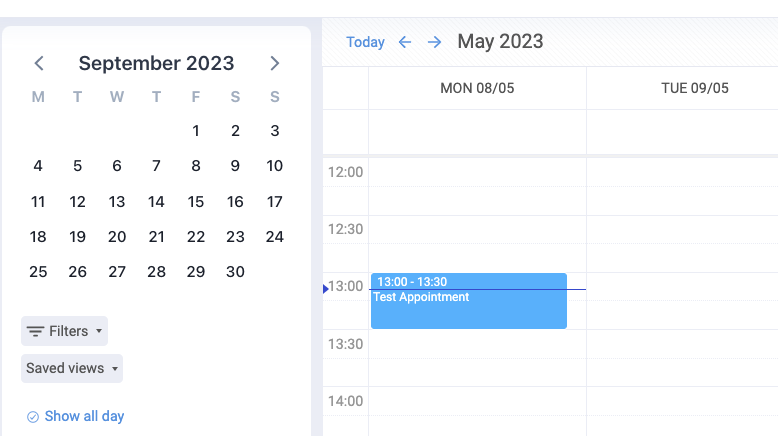
- The appointment will now appear on that date in your calendar view.

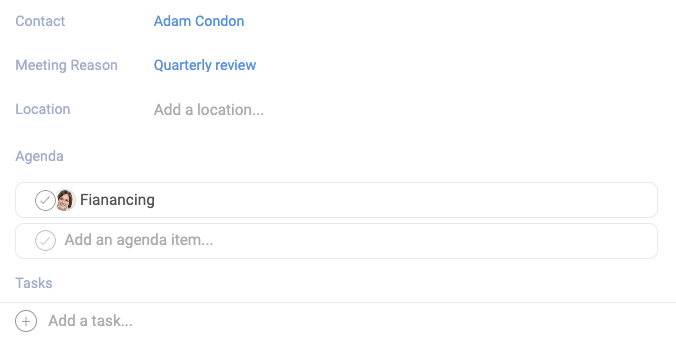
- Once saved, you will now have the ability to add an agenda and tasks for your appointment.
- Click on the appointment and scroll to the bottom of the pop-up

- You will also notice that your pop-up has new action icons in the top right corner

-
- View the appointment
- Attach Files
- Add Tasks
- Link for the appointment
- Delete the appointment
- Once you've finalised all details, your appointment will appear in both your activity log and the contact's activity log.

Other Related Articles
How to merge duplicate company?
How to search for an Existing Contact or Company?
How to update a Prospect Status?