- Within the Forms screen, navigate to the top right corner and click "Create form"

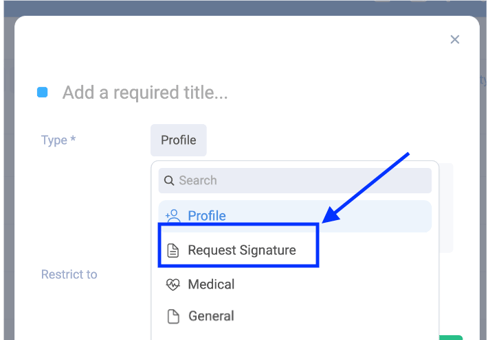
- Add a Title for your form
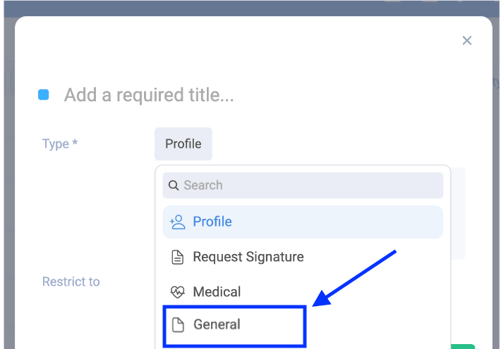
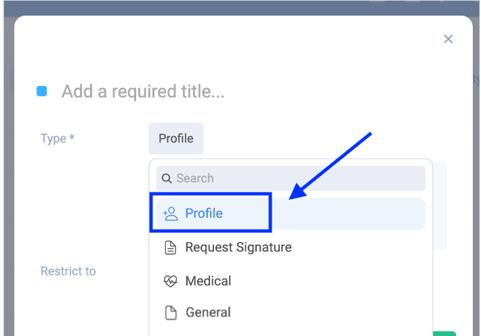
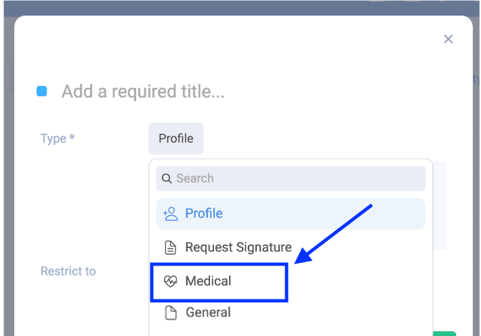
Click on the form type you wish to create to proceed to the relevant section
How to create a General Form?
|
 |
- Click Save, in the bottom right
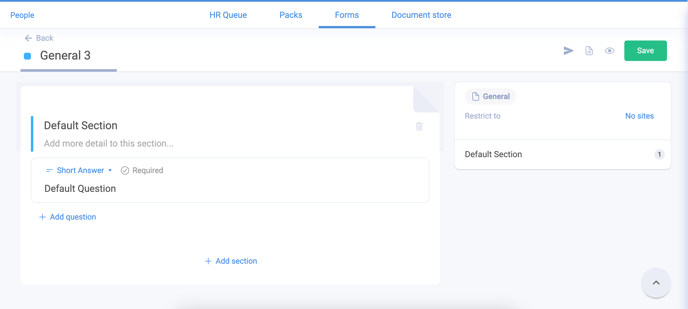
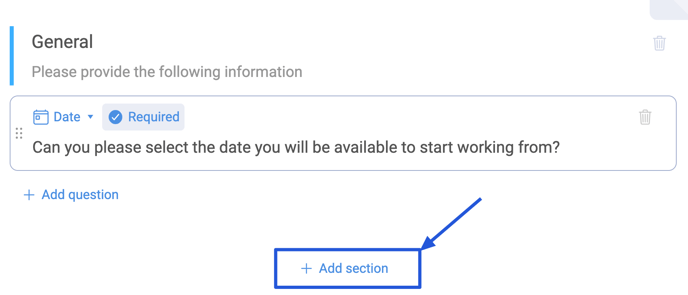
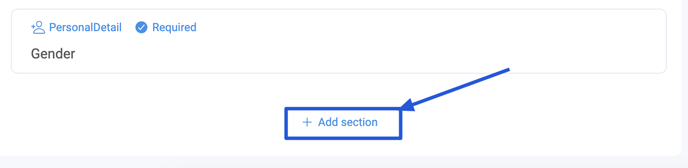
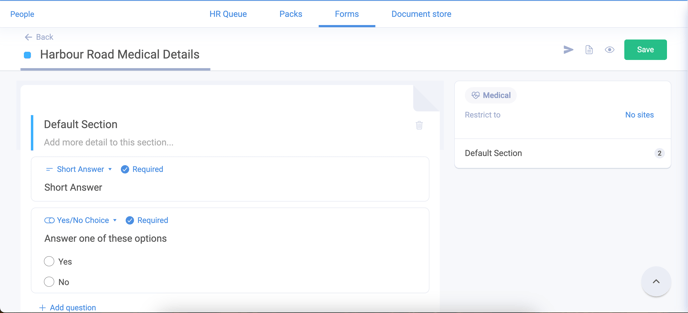
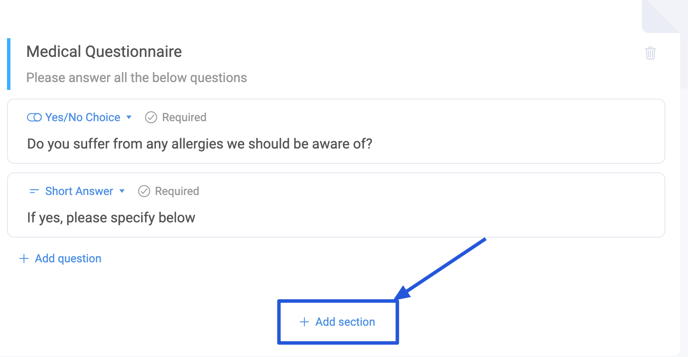
- You will now be redirected to the form-building page, where you can: add Sections; add Questions; select answer style - Short Answer, Paragraph Answer, Choice, Time, Date, Yes/No, File Upload
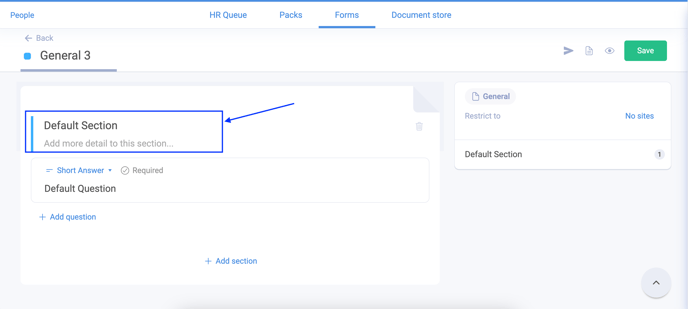
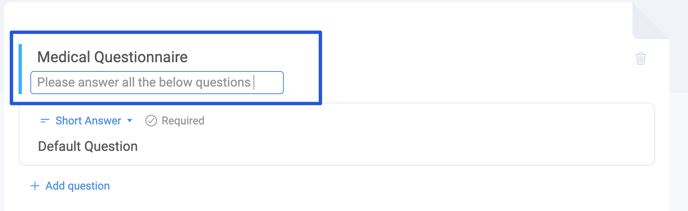
- The default view includes a default section. To rename this section just click on the text and edit as you see fit. You can also provide more details surrounding this section.
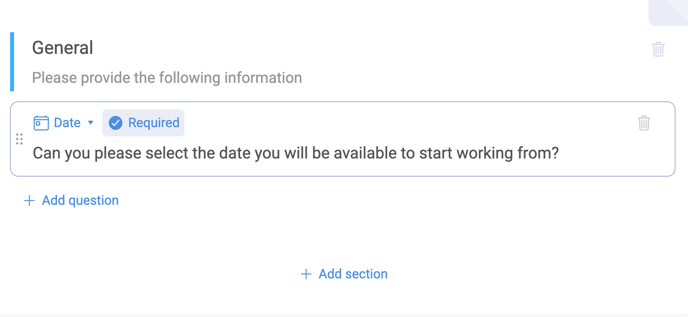
- To add a question to the section, edit the text marked "Default Question"
|
 |
|
 |
|
 |
|
 |
- The system will flag on the right that you have unsaved changes if you have not clicked save

- If you are editing a preexisting form you have the option to send it directly, see what packs this form is currently used in and also preview the form as it would appear to the recipient.

How to create a Profile Form?
|
 |
- Click Save, in the bottom right
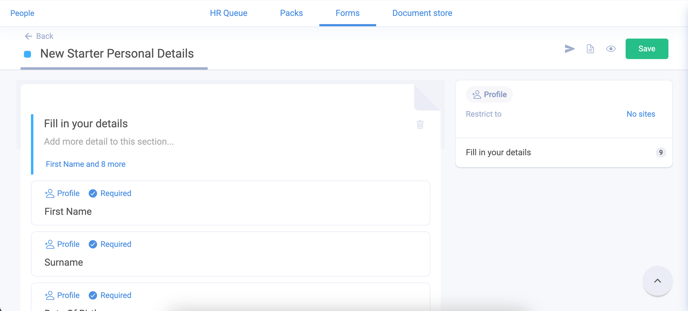
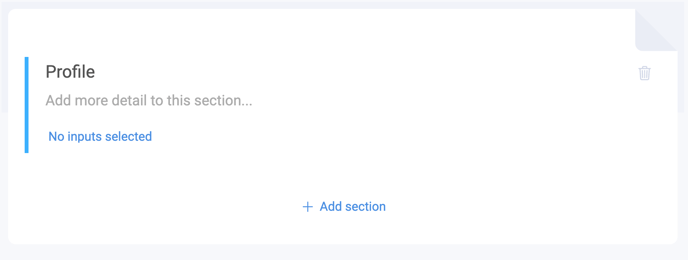
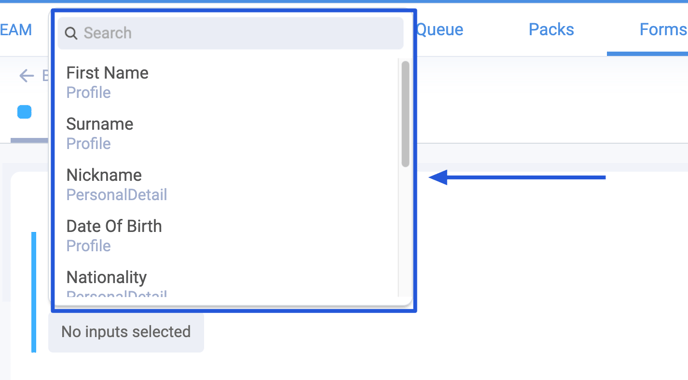
- You will now be redirected to the form-building page where you have the ability to add inputs. These inputs are automated into the staff profile
|
 |
|
 |
|
 |
|
 |
|
 |
- Click Save once you are happy with your form
- The system will flag on the right that you have unsaved changes if you have not clicked save

- If you are editing a preexisting form, you have the option to send it directly, see what packs this form is currently used in and also preview the form as it would appear to the recipient

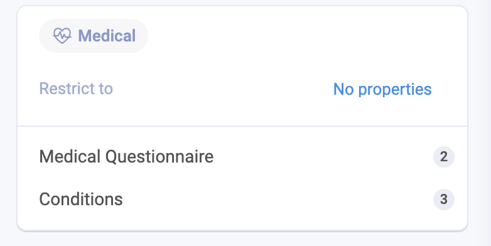
How to create a Medical Form?
|
 |
- Click Save, in the bottom right
|
 |
|
 |
|
 |
|
 |
- Click Save, once you are happy with your form
- The system will flag on the right that you have unsaved changes if you have not clicked save

- If you are editing a preexisting form, you have the option to send it directly, see what packs this form is currently used in and also preview the form as it would appear to the recipient

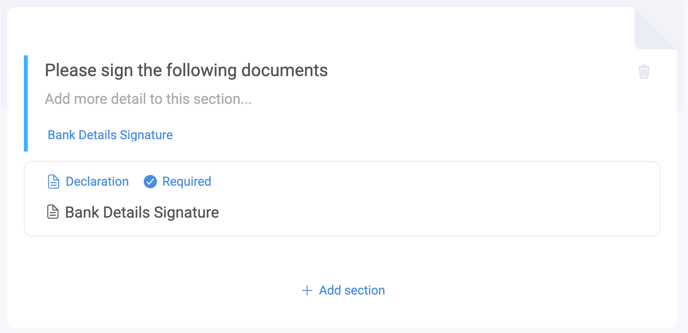
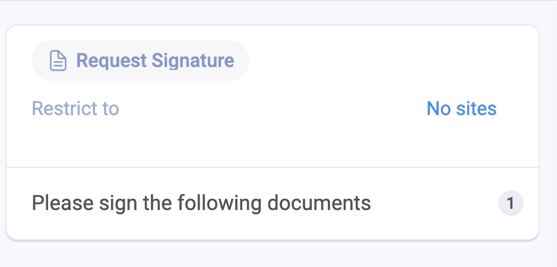
How to create a Request Signature Pack?
|
 |
- Click Save, in the bottom right
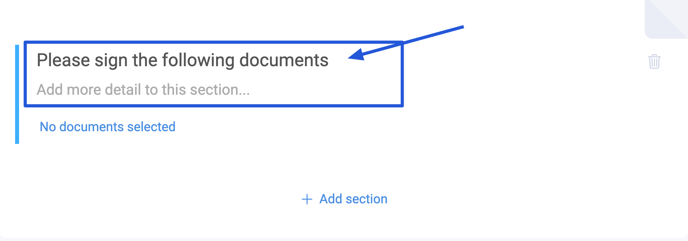
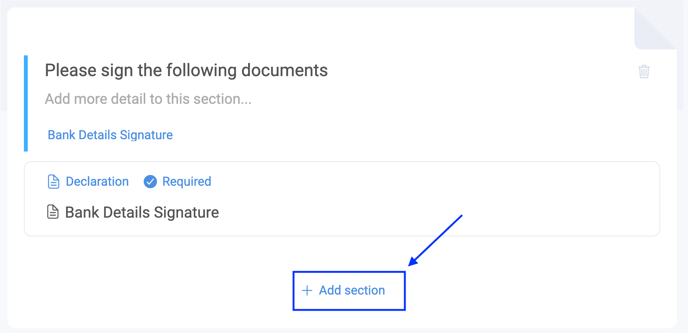
|
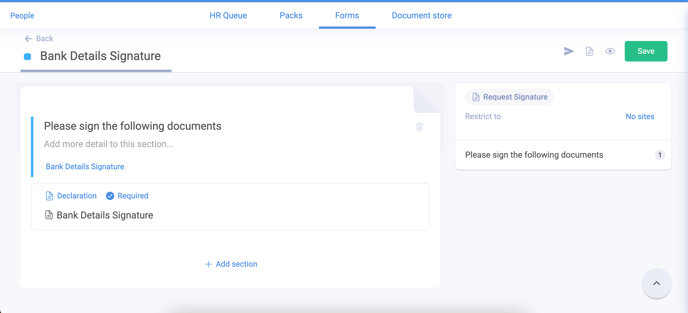 |
|
 |
|
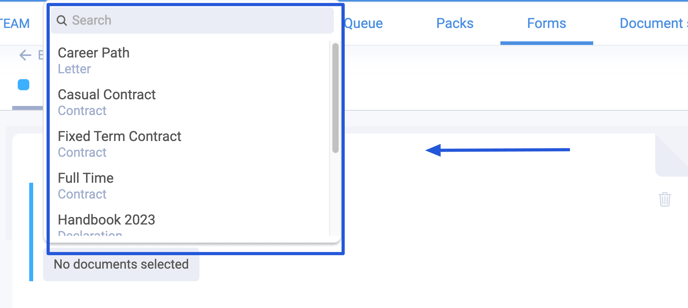 |
Please be advised that the documents available in the drop-down menu have been pulled from the documents available in your document store.
|
 |
|
 |
|
 |
- Click Save, once you are happy with your form
- The system will flag on the right that you have unsaved changes if you have not clicked save

- If you are editing a preexisting form you have the option to send it directly, see what packs this form is currently used in and also preview the form as it would appear to the recipient.
