
Reporting categories are labels such as Fire, Compliance or Accommodation. They help you group and compare checklist results in your reports. Once you've created a category, you can apply it to reporting groups and to individual checklists.
Before you start
- Categories are shared across your organisation. The Organisational label at the top right of the page shows this. A new category will be available to every site, so agree the name with your team first
- Check it doesn't already exist. Use the search box on the page first. Duplicates such as "Fire" and "Fire safety" make reports harder to read.
- Choose a clear name. Short and specific works best, for example "Food safety" or "Guest room checks". Avoid abbreviations that only one site uses. If you have sites in different countries, use words all your teams will recognise.
- Think before you create. You can delete a category only while it hasn't been applied to a reporting group or a checklist. Once it's been applied to either one, it can't be deleted. Check the name and spelling first.
➕ Add a category
- Open the App Settings.
- In the left-hand menu, under Property, select Checklists and Maintenance, then Checklists Reporting Categories.
- Use the Search box to check the category isn't already there.
- In the top right, select + Add Category.
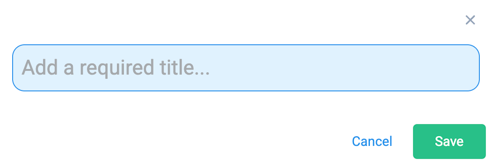
- Type the category name in the box. A title is required, so you can't save without one.
- Select Save. Select Cancel if you want to close the window without saving.
Your new category now appears in the list in alphabetically order.
✏️ Rename a category
- Find the category in the list.
- Hover over the Actions column at the end of its row, then select the Edit pencil
- Change the name and select Save.
🗑️ Delete a category
You can delete a category only when it isn't in use. In the list, check the three columns:
- Number of Uses
- Number of Groups
- Number of Configs
If all three show 0, you can delete it:
- Hover over the Actions column at the end of the category's row.
- Select the bin icon.
If any column shows a number above 0, the category is still in use and can't be deleted. To free it up, move each reporting group and checklist that uses it to a different category. When all three columns show 0, you can delete it.